Get Started
Welcome to Smilepayz
Welcome to Smilepayz, a comprehensive payment platform designed to provide flexible and secure payment solutions for businesses worldwide. This guide will walk you through the essential steps to get started with Smilepayz integration.
For comprehensive platform information and advanced features, please refer to our complete documentation.
Account Setup and Authentication
Initial Account Access
Step 1: Account Registration
- New Users: Sign up for a Smilepayz merchant account
- Existing Users: Sign in to your existing account
- Business Development: If you don't have a Smilepayz username, please contact our Business Development team for account setup
Step 2: Login Process
- Access Portal: Open your browser and navigate to https://merchant.smilepayz.com/#/signin
- Credentials:
- Username: Use your assigned
merchantNameormerchantId - Password: Your secure account password
- Password Reset: Contact our support team if you need to reset your password
- Username: Use your assigned
- Authentication: Enter your credentials and click the login button to access the Dashboard

Important Note
All system operations begin with secure login authentication. Please ensure you use strong, unique credentials for your account.
Two-Factor Authentication (2FA)
Google Authenticator Setup
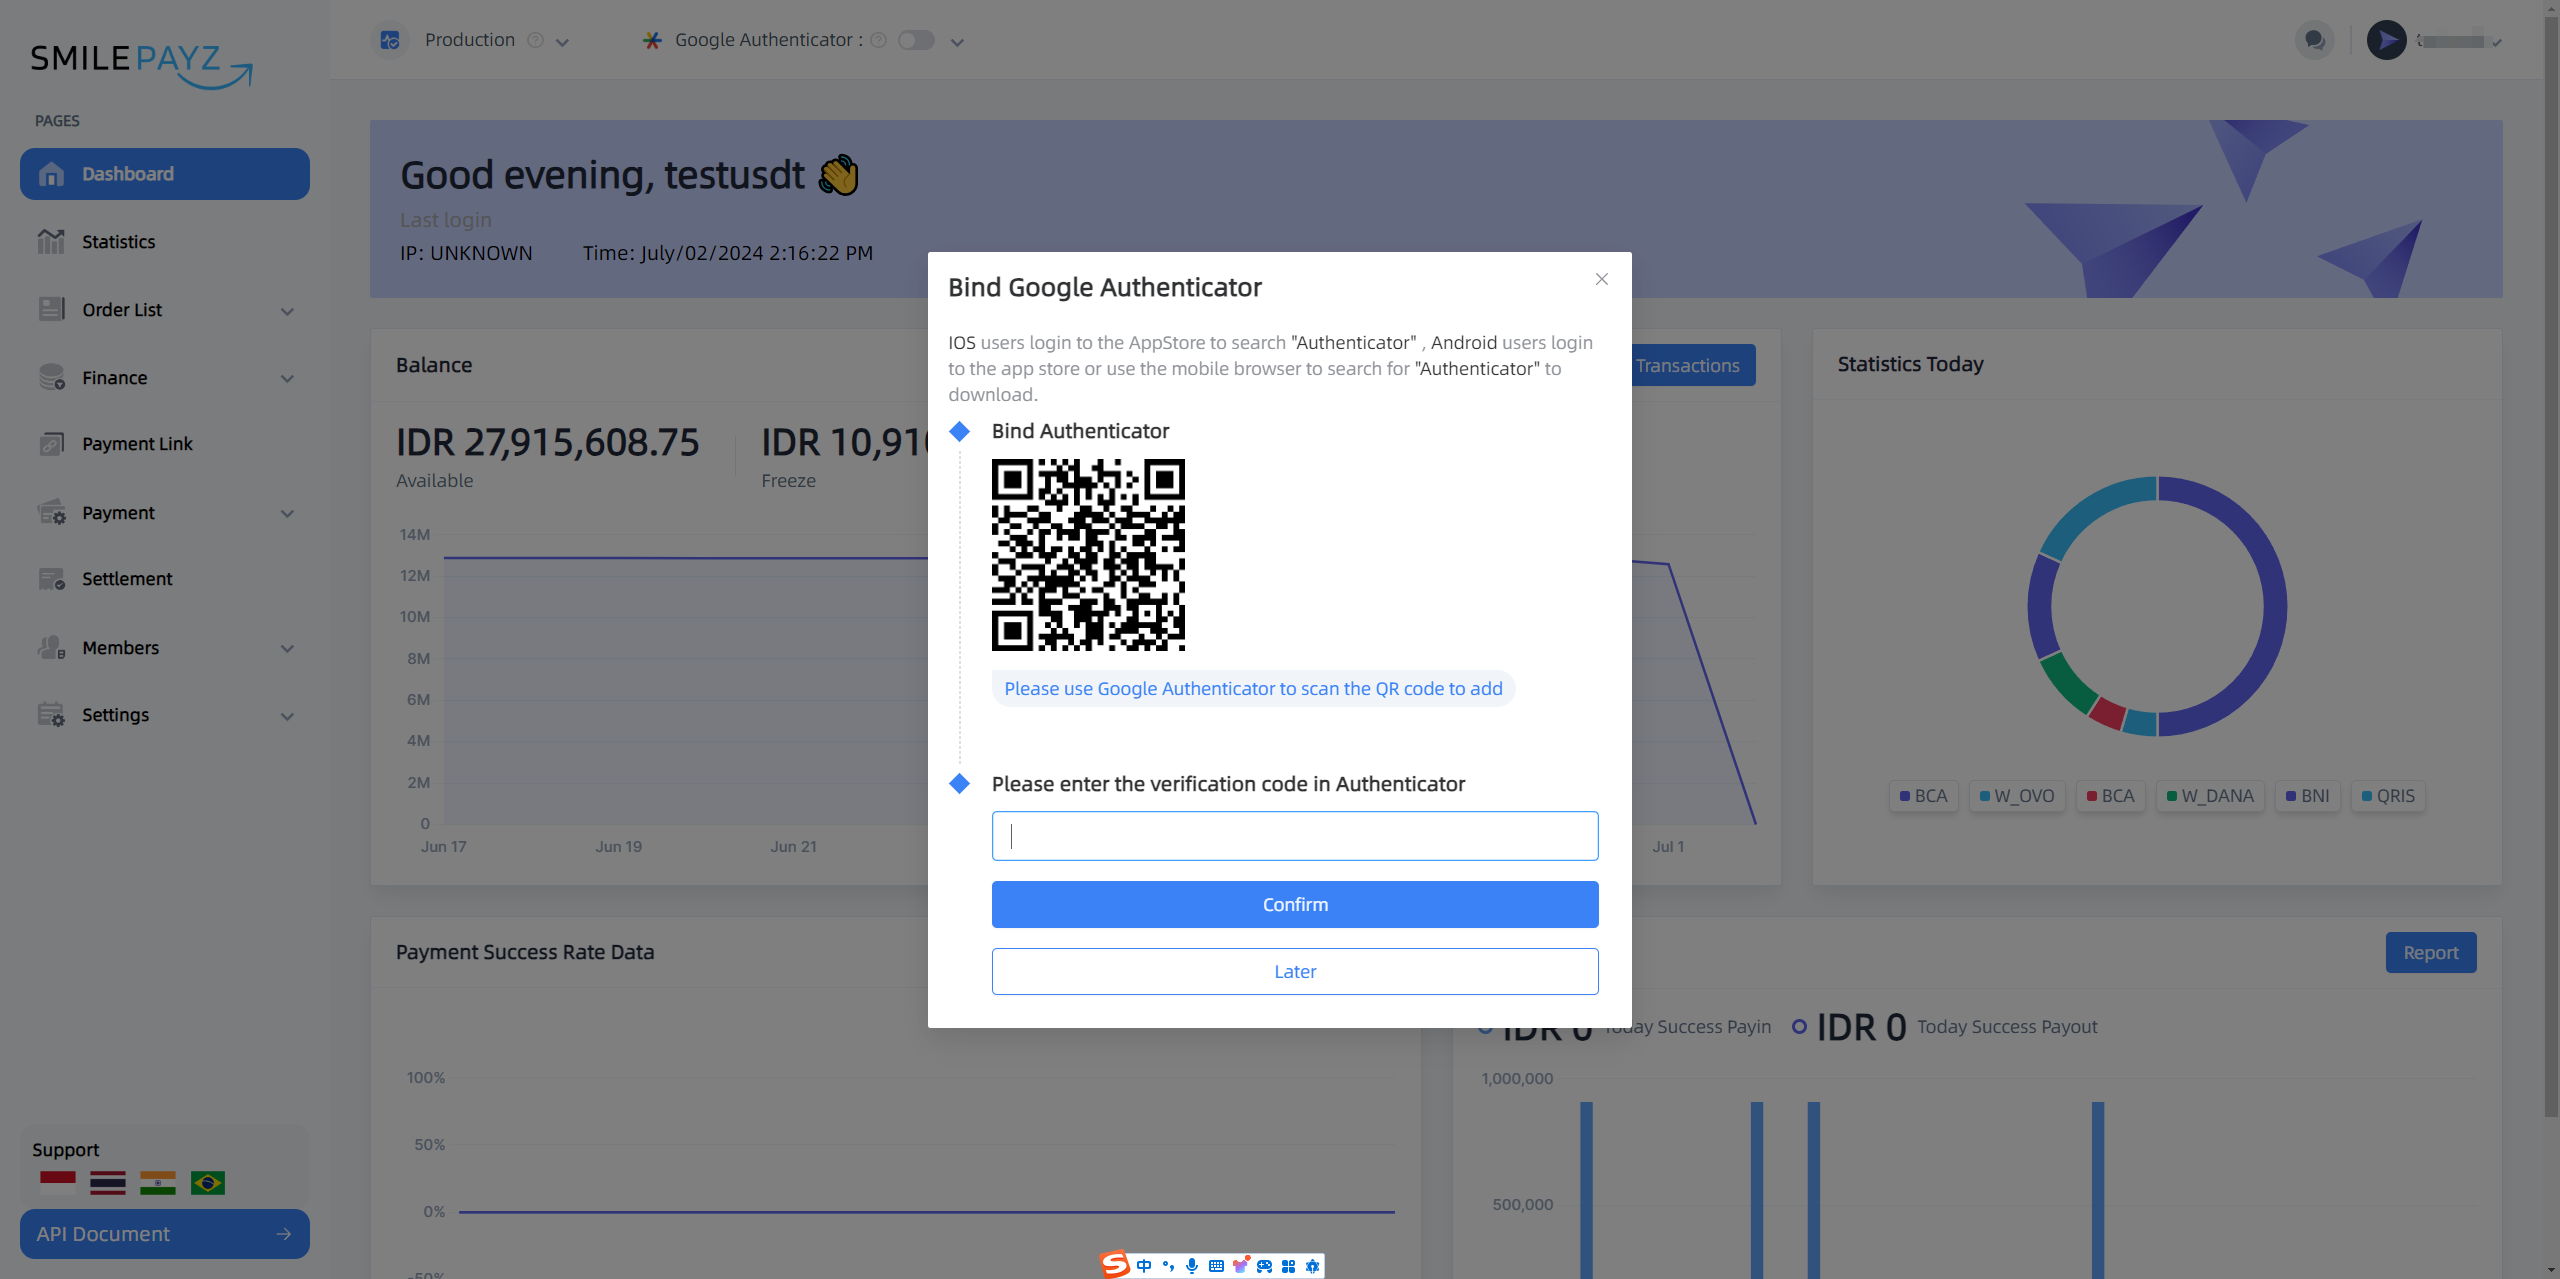
- First-Time Login: You will be prompted to bind Google Authenticator for enhanced account security
- Security Recommendation: It's highly recommended to complete this setup for optimal account protection
- Later Setup: You can also bind Google Authenticator later through the web interface header

Dashboard Overview
The Smilepayz Dashboard provides comprehensive insights into your payment operations, including:
Key Metrics
- Daily Transaction Volume: Real-time transaction count and volume
- Collection Success Rate: Payment processing success metrics
- Payment Success Rate: Transaction completion statistics
- Revenue Analytics: Financial performance indicators
Dashboard Features
- Real-Time Monitoring: Live transaction status updates
- Performance Analytics: Detailed success rate analysis
- Financial Reporting: Comprehensive revenue and transaction reports
- System Health: Platform status and performance indicators
Environment Configuration
Sandbox Environment
The sandbox environment provides a safe testing environment with simulated data for development and integration testing.
Sandbox Setup Process
Environment Access:
- Switch to the Sandbox environment using the page header toggle
- All sandbox data is simulated for testing purposes
Configuration Information:
- Navigate to the Configuration Info tab
- Retrieve your sandbox credentials:
Merchant IDMerchant NameMerchant SecretPlatform Public Key
API Settings Configuration:
- Access the API Setting tab
- Configure the following parameters:
- IP Whitelist: Add your development server IP addresses
- Callback Address: Set your webhook endpoint URLs
- Platform Public Key: Verify the platform's public key
Testing Initiation:
- Complete all configuration settings
- Begin your sandbox integration testing

Production Environment
The production environment is for live transactions and real payment processing.
Production Setup Process
Environment Transition:
- Complete thorough sandbox testing before switching to production
- Switch to the Production environment using the page header toggle
Production Configuration:
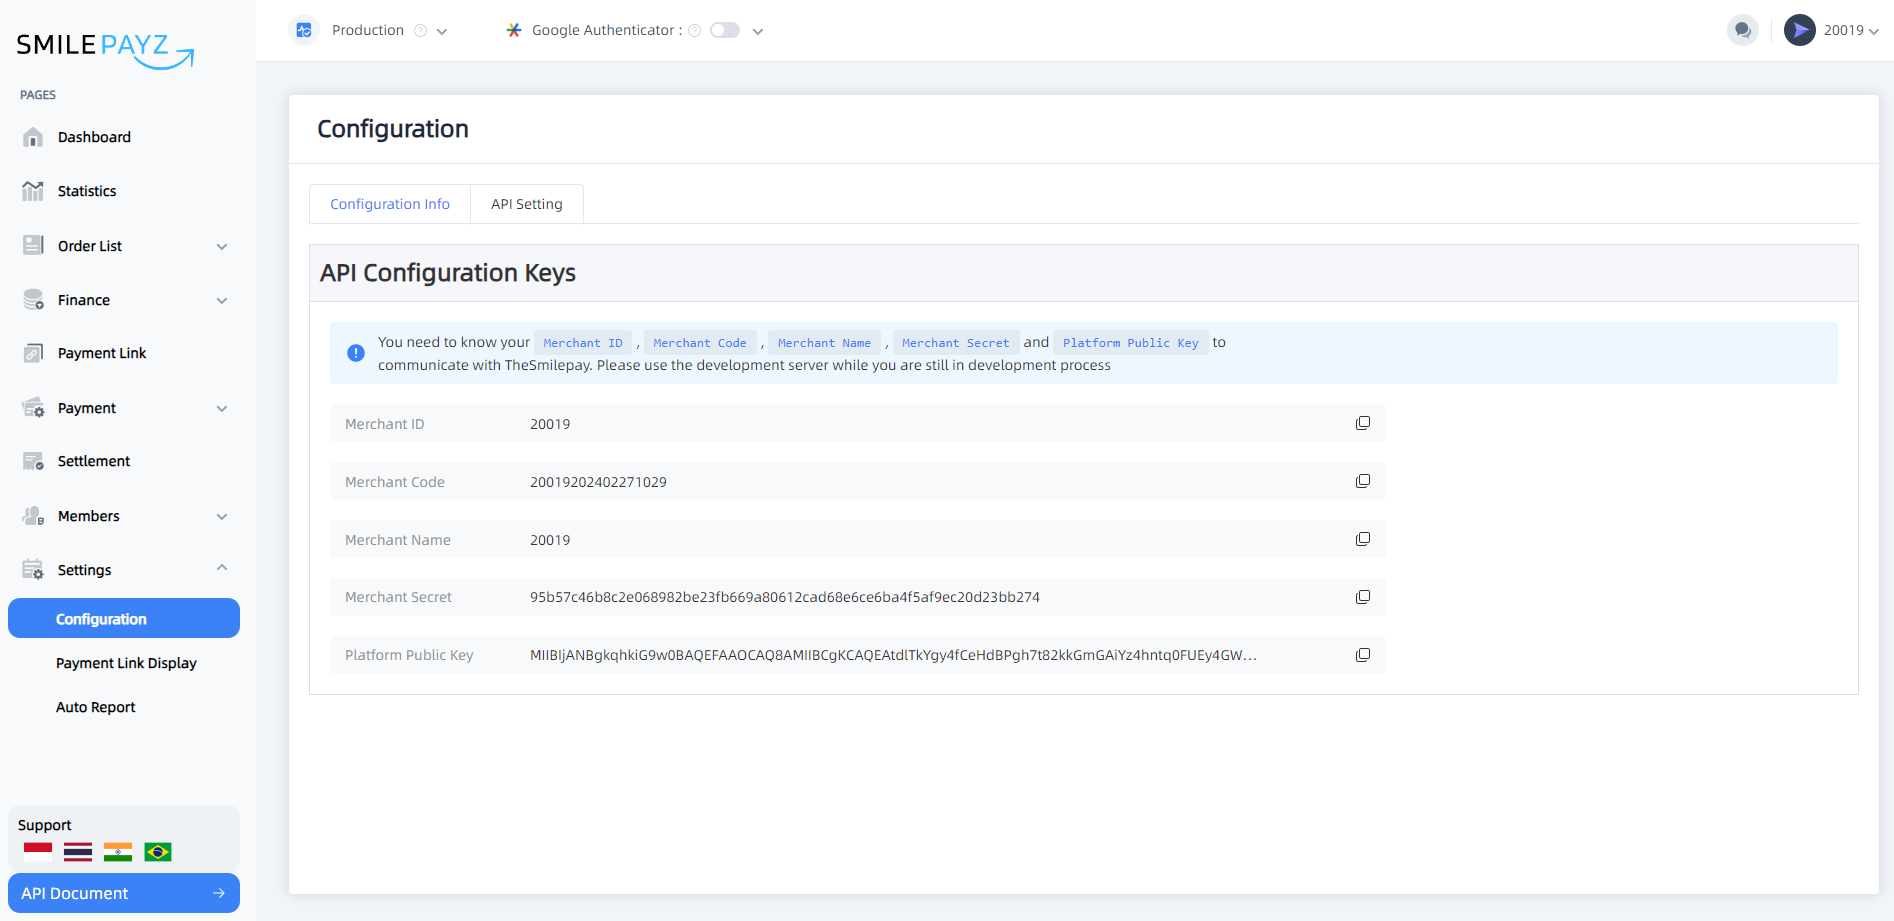
- Navigate to Setting → Configuration
- Retrieve your production credentials:
Merchant IDMerchant NameMerchant SecretPlatform Public Key
API Settings Management:
- Configure Callback Address and Platform Public Key independently
- IP Whitelist: Must be submitted to our Customer Service team for configuration
- Contact support for IP whitelist setup assistance
Production Launch:
- Verify all configurations are complete
- Begin live production operations

Security Best Practices
Account Security
- Strong Passwords: Use complex, unique passwords for your account
- Two-Factor Authentication: Always enable 2FA for enhanced security
- Regular Password Updates: Change passwords periodically
- Secure Access: Access the platform only from secure, trusted networks
API Security
- IP Whitelisting: Restrict API access to authorized IP addresses only
- Secure Callbacks: Use HTTPS endpoints for all webhook URLs
- Key Management: Safely store and manage your API credentials
- Regular Key Rotation: Periodically update your API keys
Data Protection
- Encryption: All data transmission is encrypted using industry-standard protocols
- Access Control: Implement role-based access control for team members
- Audit Logging: Monitor and log all account activities
- Compliance: Ensure adherence to regional data protection regulations
Support and Resources
Technical Support
- 24/7 Availability: Round-the-clock technical support
- Documentation: Comprehensive API documentation and guides
- SDK Support: Multiple programming language SDKs available
- Integration Assistance: Expert guidance for complex integrations
Development Resources
- Code Examples: Complete implementation examples for all APIs
- Testing Tools: Sandbox environment for development and testing
- Best Practices: Industry-standard integration guidelines
- Community Support: Developer community and forums
Business Support
- Account Management: Dedicated account management team
- Business Development: Strategic partnership and growth support
- Compliance Guidance: Regulatory compliance and legal support
- Performance Optimization: Business performance and optimization consulting
Production Environment Requirements
In the production environment, your system's IP Whitelist must be submitted to our Customer Service team for secure configuration. This is a mandatory security requirement for live operations.
